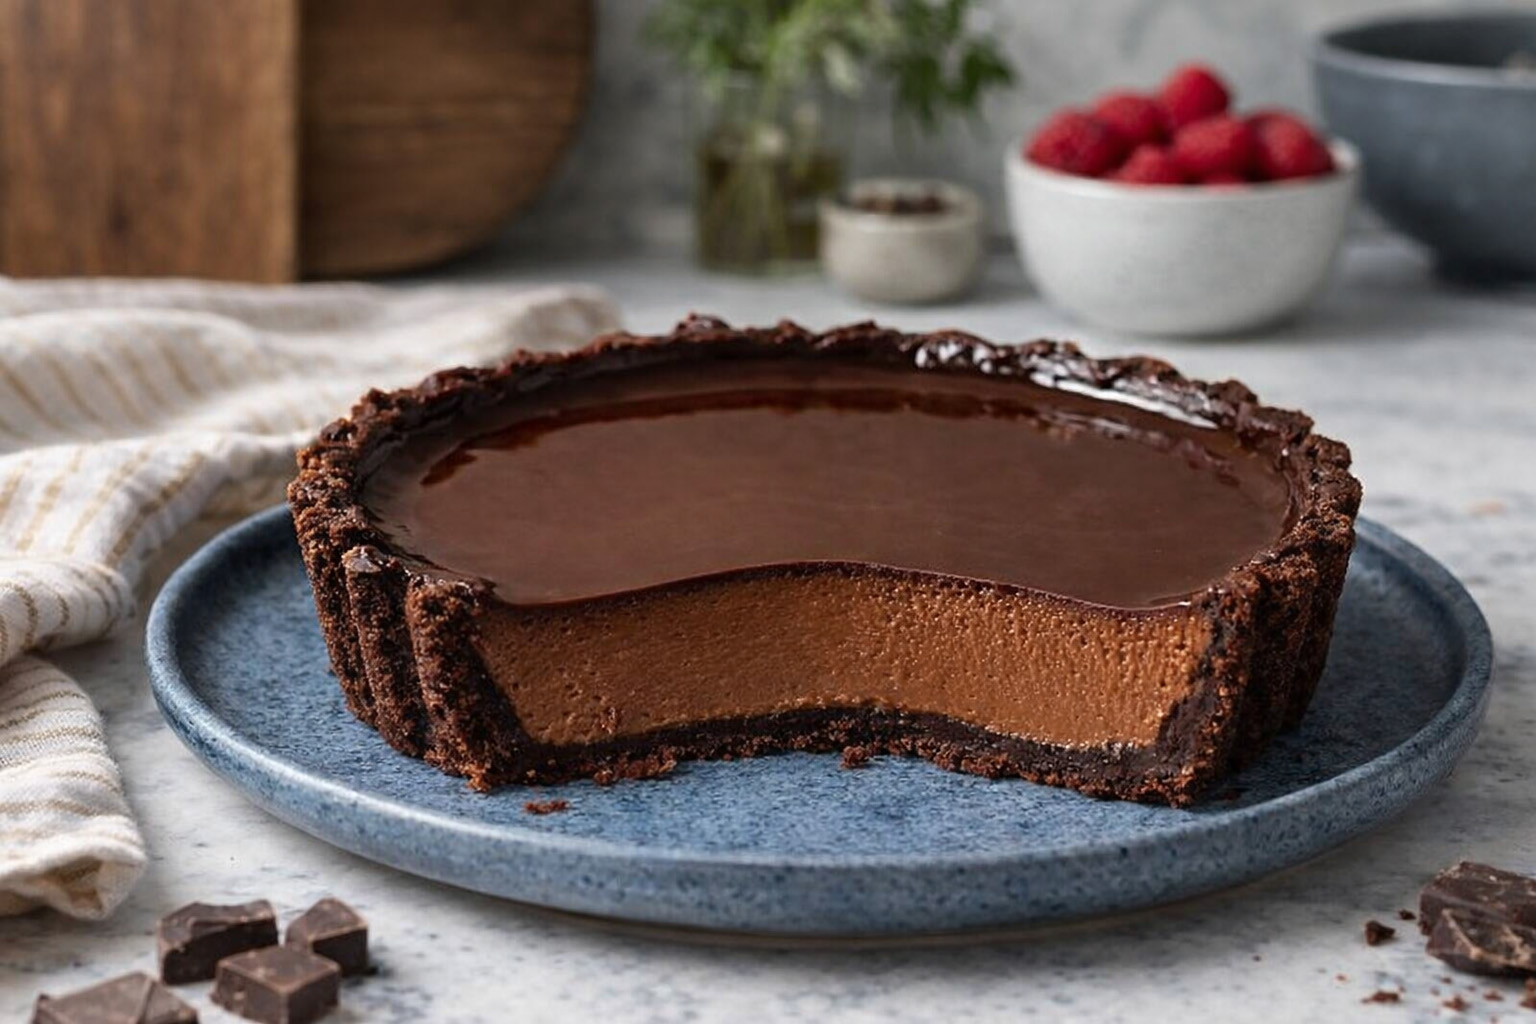
This French chocolate flan is what happens when silky custard and crisp chocolate pastry decide to have a very glamorous meeting in Paris.
You get a rich, velvety chocolate filling — made with eggs, milk, cream and proper dark chocolate — baked just until set so it slices cleanly but still melts on the tongue. Underneath? A crisp chocolate tart base that adds that perfect little snap before the smooth custard takes over. Texture heaven.
It looks elegant. It tastes luxurious. And the best part? It’s far easier to make than it appears — which makes it the ultimate secret weapon dessert. Fancy enough for dinner parties, romantic enough for date night, and absolutely welcome at a casual “I just felt like baking something fabulous” gathering.
Serve it chilled, slice it neatly, and watch people go quiet after the first bite. That’s when you know you’ve nailed it.
Prepare
Cook
Serving
Ingredients
Method
Helpful Tips

Print & Share
Parisian Chocolate Custard Tart
Ingredients
Method
-
Start by whisking together the flour, icing sugar, cocoa powder and salt in a bowl. It should look like edible velvet dust.
Preheat your oven to 350°F (180°C) and line a baking sheet with parchment paper.
Melt the butter (quick microwave moment), then pour it into the dry ingredients along with the vanilla. Stir until everything comes together into a smooth, thick paste — rich, dark, and slightly glossy.
Turn it out and knead gently just 3–4 times. This isn’t bread; we’re not building gluten strength. Be kind to it.
Press or roll the dough into a large circle, slightly bigger than your pastry ring. Rustic edges are absolutely fine — they’ll be trimmed later. Slide it into the oven and bake for about 10 minutes, until the surface looks dry and set.
While it’s still warm, press your pastry ring firmly into the baked base like a giant cookie cutter. Leave the ring in place — this becomes your mould.(Using a loose-bottomed cake tin? Same idea, just adjust to fit your pan.)
Let it cool completely.
-
In a bowl, whisk together the egg yolks, whole eggs and sugar for about 30 seconds. It should lighten slightly and look smooth.
Whisk in the cornstarch and salt until completely lump-free.
In a saucepan, heat the milk and cream over medium heat. Once you see steam rising (but before it boils), begin tempering: slowly pour a small amount of the hot milk into the egg mixture, whisking constantly. Keep adding gradually, whisking all the while. Slow and steady prevents scrambled eggs — and we do not want scrambled eggs.
Once combined, pour everything back into the saucepan. Cook over medium-low heat, whisking continuously. When it begins to bubble, keep going for another 1–2 minutes until thickened.
You’ll know it’s ready when it coats the back of a spoon and a clean line remains when you drag your finger through it. That’s pastry chef gold.
Remove from heat. If needed, strain through a sieve for ultimate smoothness.
Add the chopped dark chocolate and whisk until fully melted and glossy. It should look luxurious enough to make you pause for a second.
-
Your pastry ring should still be sitting on the cooled base. Trim away any excess pastry from around the edges.
Lightly butter the inside of the ring.
Pour in the chocolate custard and smooth the top with a palette knife (or the back of a spoon if you’re improvising).
Bake for 50–60 minutes. The edges should be set, but the centre should still have a gentle wobble — that slight jiggle is perfect.
Let it cool to room temperature, then cover and refrigerate overnight. This rest is essential. Patience pays off.
-
Once fully chilled, carefully remove the pastry ring. If it resists, run a sharp knife around the edge or warm the outside of the ring slightly to help release it.
For that classic glossy pâtisserie finish, microwave 1 tablespoon of jam for about 20 seconds until fluid, then brush a thin layer over the top.Apricot is traditional. Strawberry adds a subtle berry note. Either way? Très chic.
Slice cleanly. Serve confidently. Accept the compliments gracefully.
Notes
If your flan cracks during baking, your oven may be running a little too fierce. Next time, dial the temperature down slightly and let it bake a touch more gently. This dessert prefers elegance over aggression.
Discover more from Table Number Seven
Subscribe to get the latest posts sent to your email.